使用 vImage 像素缓冲区生成视频效果
Apple · 发布 2026/11/07 · 更新 2026/11/07
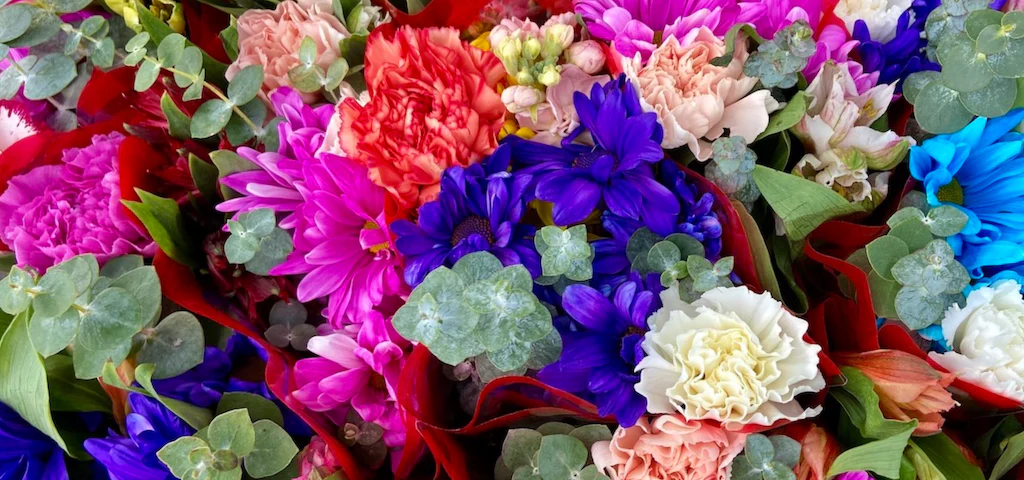
此示例代码项目从 macOS 设备的摄像头捕捉视频,并实时应用视频效果。示例将 8 位 YpCbCr 视频帧转换为 32 位 RGB 像素缓冲图像,演示仅适用于 32 位数据的图像处理技术。
使用 vImage 像素缓冲区实时渲染视频效果。
下载 macOS 13.0+;Xcode 14.3+
概述
此示例代码项目从 macOS 设备的摄像头捕捉视频,并实时应用视频效果。示例将 8 位 YpCbCr 视频帧转换为 32 位 RGB vImage.PixelBuffer 图像,演示仅适用于 32 位数据的图像处理技术。
在研究代码之前,请先构建并运行 App,熟悉它根据摄像头画面生成的不同视觉效果。
创建任意到任意格式的转换器
代码创建一个 vImageConverter 实例,将 YpCbCr 视频帧转换为三通道、每通道 32 位的浮点交错图像数据。
let cvImageFormat = vImageCVImageFormat.make(
    format: .format422YpCbCr8,
    matrix: kvImage_ARGBToYpCbCrMatrix_ITU_R_601_4.pointee,
    chromaSiting: .center,
    colorSpace: CGColorSpaceCreateDeviceRGB(),
    alphaIsOpaqueHint: true)!


let cgImageFormat = vImage_CGImageFormat(
    bitsPerComponent: 32,
    bitsPerPixel: 32 * 3,
    colorSpace: CGColorSpaceCreateDeviceRGB(),
    bitmapInfo: CGBitmapInfo(
        rawValue: kCGBitmapByteOrder32Host.rawValue |
        CGBitmapInfo.floatComponents.rawValue |
        CGImageAlphaInfo.none.rawValue),
    renderingIntent: .defaultIntent)!


lazy var converter: vImageConverter = {
    guard let converter = try? vImageConverter.make(
        sourceFormat: cvImageFormat,
        destinationFormat: cgImageFormat) else {
        fatalError("Unable to create converter")
    }

    return converter
}()
将 Core Video 像素缓冲区转换为 RGB
代码将 destinationBuffer 定义为 vImage.InterleavedFx3 像素缓冲区。转换函数创建一个 vImage.DynamicPixelFormat 源缓冲区,该缓冲区引用已锁定的 CVPixelBuffer 实例,并将其传给任意到任意格式的转换器。
func populateDestinationBuffer(pixelBuffer: CVPixelBuffer) {

    let sourceBuffer = vImage.PixelBuffer(
        referencing: pixelBuffer,
        converter: converter,
        destinationPixelFormat: vImage.DynamicPixelFormat.self)

    do {
        try converter.convert(
            from: sourceBuffer,
            to: destinationBuffer)
    } catch {
        fatalError("Any-to-any conversion failure.")
    }
}
函数返回后,destinationBuffer 包含该 YpCbCr 视频帧的 RGB 表示。
应用噪点效果
示例通过为每一帧添加均值为零的高斯噪声,模拟噪点或胶片颗粒。下图显示了噪点效果的示例:
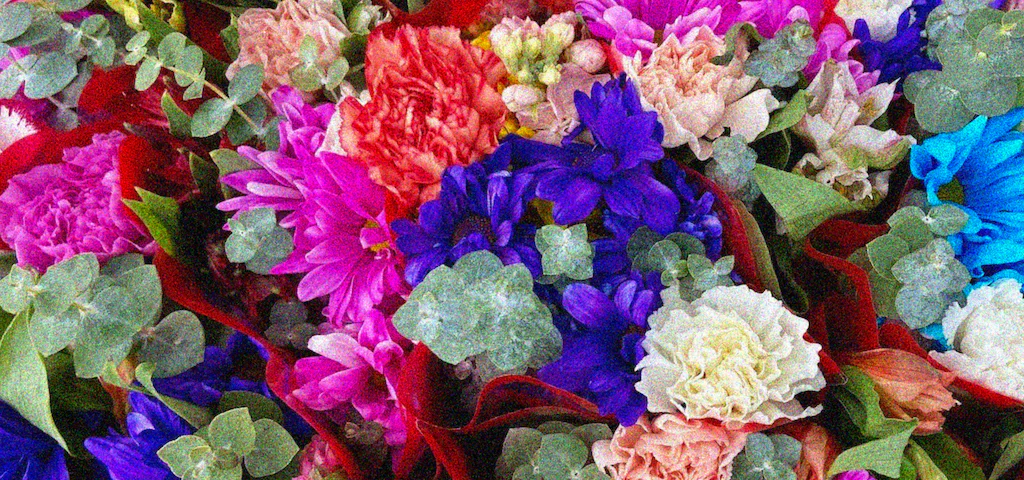
Accelerate 的 BNNS 库提供 BNNSRandomFillNormalFloat(_:_:_:_:) 函数,用映射到正态分布的随机浮点值填充数组描述符。使用 withUnsafeMutableBufferPointer(_:) 函数,将指向像素缓冲区底层数据的指针传递给 BNNSNDArrayDescriptor。
以下代码生成噪点效果:
func applyNoise() {

    noiseBuffer.withUnsafeMutableBufferPointer { noisePtr in

        if var descriptor = BNNSNDArrayDescriptor(
            data: noisePtr,
            shape: BNNS.Shape.tensor3DFirstMajor(
                noiseBuffer.width,
                noiseBuffer.height,
                noiseBuffer.channelCount)) {

            /// Fill `noiseBuffer` with random values mapped to a normal distribution with a mean
            /// of `0` and a standard deviation of `0.125`.
            let mean: Float = 0
            let stdDev: Float = 0.125

            BNNSRandomFillNormalFloat(
                randomNumberGenerator,
                &descriptor,
                mean,
                stdDev)
        }
    }

    /// Fill `mutableDestinationPtr` with the sum of the corresponding pixels
    /// in `destinationBuffer` and `noiseBuffer`.
    destinationBuffer.withUnsafeMutableBufferPointer { mutablDestinationPtr in

        vDSP.add(destinationBuffer, noiseBuffer,
                 result: &mutablDestinationPtr)
    }
}
应用时间模糊效果
时间模糊效果通过计算当前帧和先前帧的加权平均值,使图像随时间产生模糊。该效果类似于经过夸张处理的运动模糊。
下图展示了旋转图像应用时间模糊效果的示例:
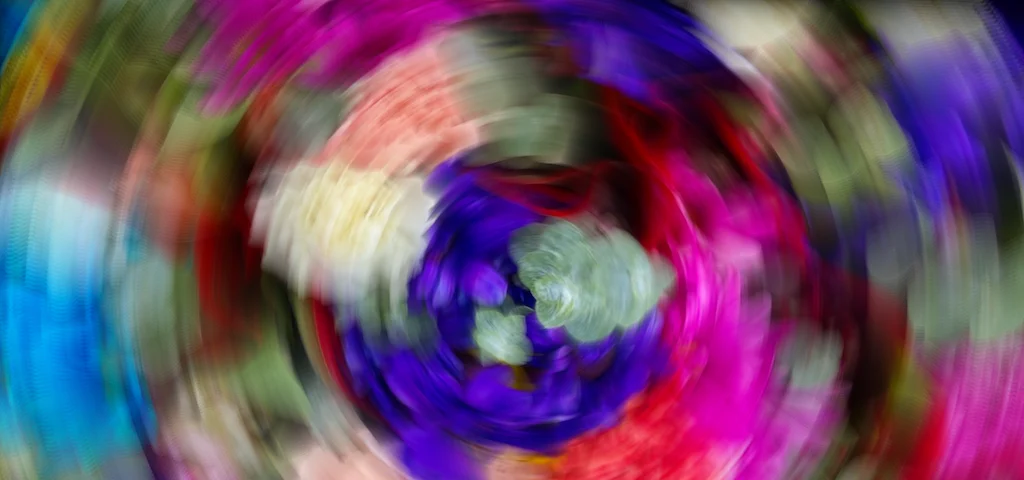
linearInterpolate(bufferB:interpolationConstant:destination:) 函数调用 vDSP 函数 vDSP_vintb,计算当前帧与先前插值帧之间的线性插值。
以下代码生成时间模糊效果:
func applyTemporalBlur() {

    let interpolationConstant: Float = 0.925

    destinationBuffer.linearInterpolate(
        bufferB: temporalBuffer,
        interpolationConstant: interpolationConstant,
        destination: temporalBuffer)

    temporalBuffer.copy(to: destinationBuffer)
}
应用色调分离效果
色调分离效果将图像中的连续颜色减少为较少的色调,生成具有纯色区域的结果。下图显示了色调分离效果的示例:
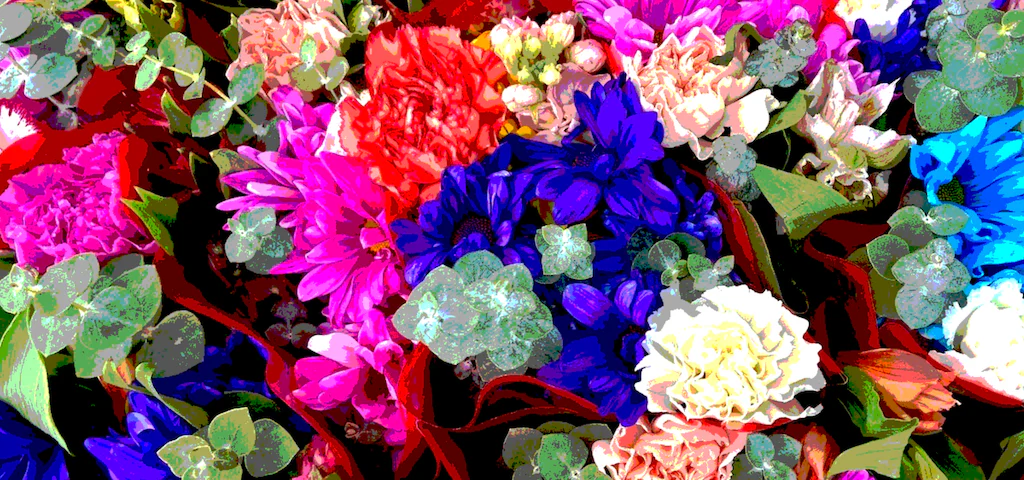
示例使用直方图规定化生成色调分离效果。代码通过计算并指定具有较少分箱数量的直方图来减少颜色数量。有关直方图规定化的更多信息,请参阅使用 vImage 规定直方图。
代码使用交错目标缓冲区填充多平面像素缓冲区。该多平面像素缓冲区包含三个独立的平面缓冲区,vImage.PixelBuffer.Histogram888 函数返回红、绿、蓝各通道的直方图。将分箱数量指定为 4 时,返回结果最多包含 4 * 4 * 4(64)种颜色。
以下代码生成色调分离效果:
func applyPosterization() {

    destinationBuffer.deinterleave(
        destination: histogramBuffer)

    let histogram = histogramBuffer.histogram(
        binCount: 4)

    histogramBuffer.specifyHistogram(
        histogram,
        destination: histogramBuffer)

    histogramBuffer.interleave(
        destination: destinationBuffer)
}
应用颜色阈值效果
颜色阈值效果与色调分离效果相似,但它将每个颜色通道减少为一位,因此每种颜色只能为 0 或 1。下图显示了颜色阈值效果:
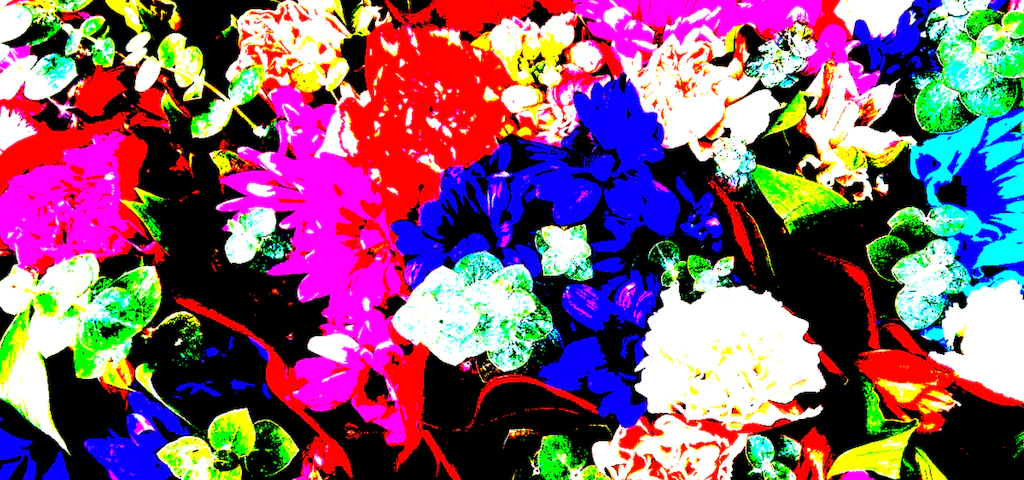
colorThreshold(_:destination:) 函数将大于或等于指定阈值的像素值设为 1,其余像素值设为 0。由于该函数分别处理红、绿、蓝值,结果最多包含 2 * 2 * 2(8)种颜色。此效果与将 binCount 设为 2 的色调分离效果相同。
以下代码生成颜色阈值效果:
func applyColorThreshold() {

    let threshold: Float = 0.5

    destinationBuffer.colorThreshold(
        threshold,
        destination: destinationBuffer)
}
来源:Apple Developer;作者:Apple
来源:Developer